-40%
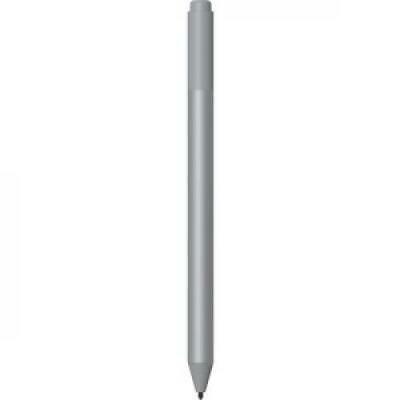
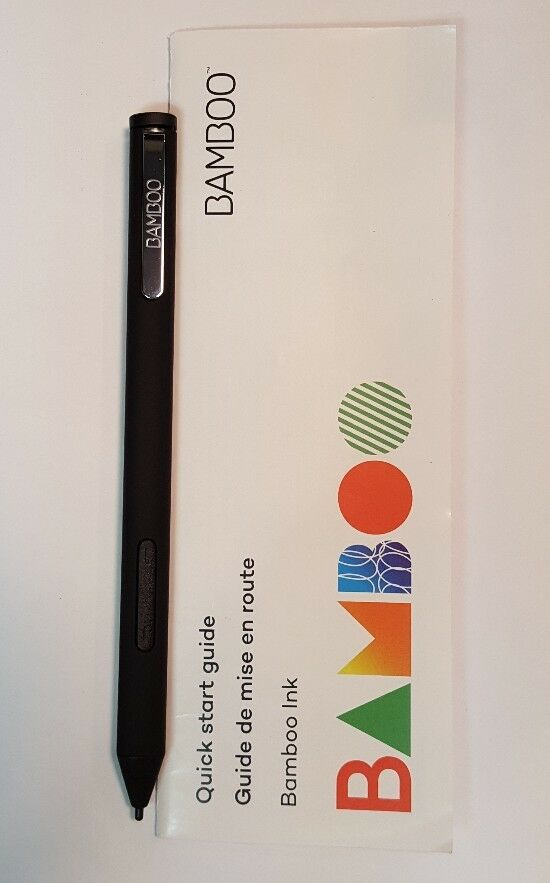
Brand New Genuine HP Active Pen HSTNN-W01P w/Battery Lanyard 914597-001 stylus
$ 7.91
- Description
- Size Guide
Description
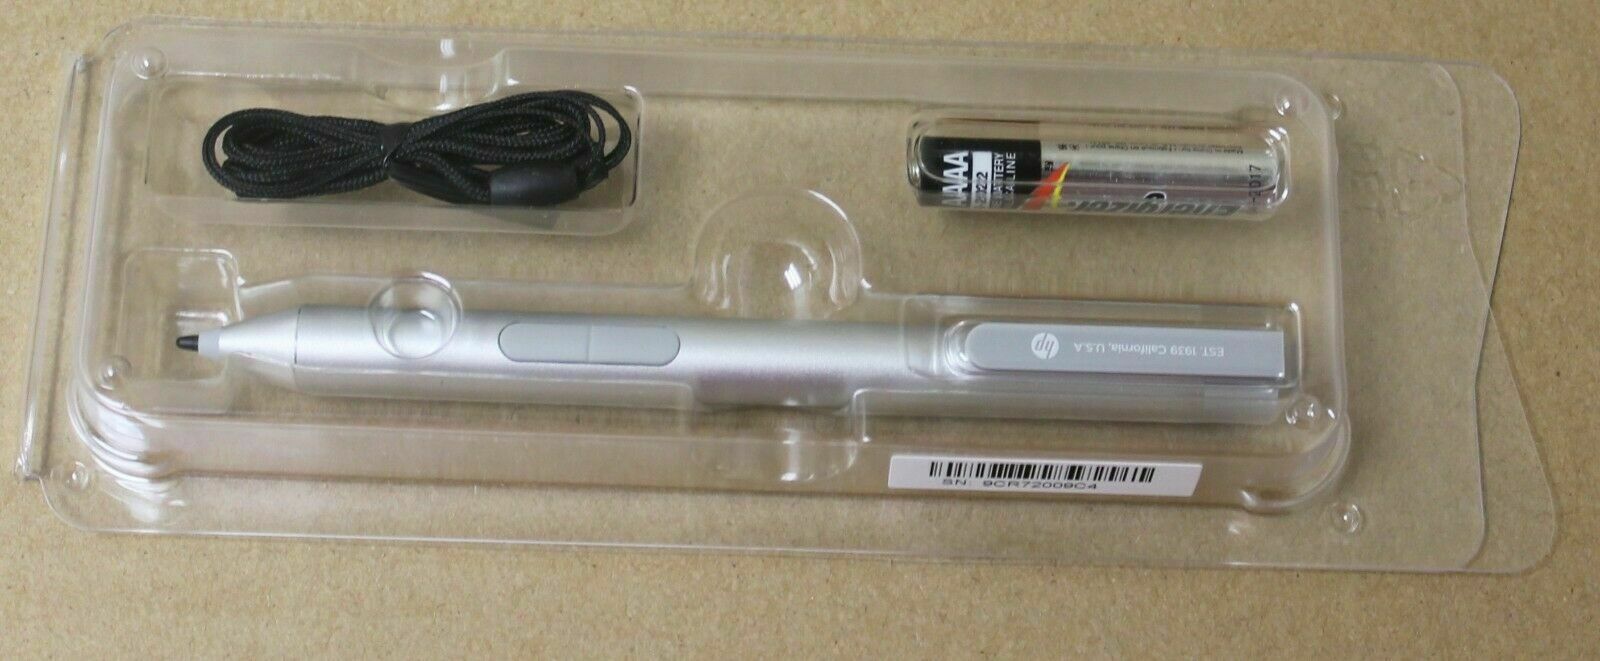
Brand New Genuine HP Active Pen HSTNN-W01P w/Battery Lanyard 914597-001 stylusBrand New in original packaging.
Each unit includes a Pen, Battery, Lanyard, and a holster with adhesive back.
Manufacturer's description:
Dimensions (L x W):
123.19 x 5.80 mm (4.85 x 0.20 in)
Weight
Including battery: Approximately 15.8 g (0.56 oz)
Excluding battery: Approximately 9.2 g (0.32 oz)
Tip diameter
1 mm
Power
(1) AAAA battery
Buttons
Yes, 2
Pen pressure level resolution
2048 levels
Tilt operation
Yes
Palm rejection
Yes
Hover reading height
8 mm+
Switch operation
Pen tip: Pressure information is detected as continuous signal
Side switch: ON/OFF switching is detected
System requirements
Windows 8.1
Windows 10
Color
Nature silver
Will not work for !!!
(HP Envy x360 15m-bq02dx) ,
(HP pavilion 360 15bk) (
HP Envy x2 2 in 1, model 11-g011nr)
Compatibility
Built for Windows Ink (Active) including
HP ProBook x360 11 G1
HP Pavilion x360 11m-ad0
HP Pavilion x360 14M-ba0
HP Pavilion x360 14-cd0
HP Pavilion x360 15-br0
HP Envy x360
15-bp0
HP Envy
x360
15-bq0
HP Envy x360
15-cn0,
HP Envy
X2 12-e0xx
HP Envy
X2 12g0xx
HP Spectre x360 13-ac0xx
HP Spectre x360 15-blxxx (Silver)
HP ProBook x360 11 G1, G2, G3 - Setting up an HP Active Pen
Set up an HP Active Pen with your compatible touchscreen laptop, and then use the pen to write, draw, or navigate the operating system and programs.
Install the battery
Install the battery to power the HP Active Pen.
Remove the pen from its packaging.
Turn the cap to remove it, and then set the cap aside.
Insert the battery in the pen with the positive end of the battery facing the empty pen body and the negative end facing you.
Place the cap on the pen, and then turn the cap to secure it in place.
Attach the lanyard and pen loop
Attach the lanyard to the pen and your laptop, and then install the pen loop to store the pen when not in use.
On the pen cap, locate the lanyard attachment point.
With the lanyard in one hand, thread the lanyard loop through the hole in the cap until approximately half of the lanyard is through the hole.
Thread the opposite end through the first loop, and then tighten the lanyard until it fits securely around the pen.
Turn over your computer, and then locate the screw reserved for the lanyard.
Remove the screw from the computer, place the empty loop over the screw, and then secure the screw to the notebook.
Find a place on the bottom cover to secure the pen loop. Make sure the placement does not interfere with the balance of the notebook when you store the pen in the loop.
On the pen loop, remove the adhesive backing.
Place the pen loop on the bottom cover, and then press it to secure the adhesive.
Return the computer to its normal position, and then use the pen loop to store the pen when not in use.
Calibrate the touchscreen
Calibrate the touchscreen for increased accuracy when using the pen.
In Windows, search for and open
Calibrate the screen for pen or touch input
.
Select
Calibrate
, and then select
Pen Input
.
Use the pen to tap the cross-hairs that display on-screen.
For best results, quickly tap all the cross-hairs on the screen before the pen deactivates.
Click
Yes
to save the calibration date.
Use the pen
Press the tip of the pen against the touchscreen. The touchscreen automatically detects the pen, turns off finger-touch functionality, and provides cues on where to place the pen.
NOTE:
In Windows 10 and Windows 8.1. you can write, draw, and paint on the screen without configuring the pen when using Windows Ink Workspace, or Microsoft OneNote or Fresh Paint.
Left-click
: Tap the pen once on the screen to left-click an item.
Right-click
: Press the right-click button on the pen and then press the tip on the screen to right-click an item.
Double-click
: Tap the pen twice on the screen to double-click an item.
Select multiple items
: Press the pen tip against the screen and drag it across the items or text you want to select.
Select
: Choose which hand to write with, and enable or disable visual effects, cursor, and a setting to ignore touch input when using the pen.
Erase
: Press and hold the pen tip against the screen on the item you want to erase, and then click the eraser button. You can erase a single item, or use a swipe action to erase multiple items.
Frequently asked questions (FAQs)
Still have a question? Find additional answers and help.
Why does my pen not work?
The pen might not work for different reasons such as a drained battery, loose or broken pen tip, or a touchscreen that is not configured for pen input.
Replace the AAAA battery, if necessary. Make sure to insert the positive end of the battery facing the pen tip.
Inspect the pen tip, confirming the tip is not broken, damaged, or loose in the tip cavity. Replace the tip if broken or damaged.
Make sure your touchscreen is configured to accept pen input.
Chromebooks
: Confirm the notebook has a digitizer. Find the service tag, and then make sure the service tag lists
EMR Active Pen Support
.
Windows 10
: Search for and open
Control panel
. In the search field, type
Pen
, and then select
Pen and Touch
from the list of results. Confirm the settings are correct for pen input.
